Nowadays Gift cards have become the preferred gift of choice for a number of reasons. The primary reason is, the Gift card is a quick, time saving way to let someone know that you are thinking of them on that special day or the perfect, easy way to just say thank you. How about taking it further, give the gift card and personal touch!!!! Jazz it up with your
Cricut. Here is my way of making the Gift Card extra special for
Today's Mama!!!!
Following is a quick tutorial, but loaded with pictures on how to create this jazzy Birthday Surprise wallet to house your gift card with the Cricut.

Gift card and sentiment card all in one!!!!

Lets get started!!!
Supplies
Cricut
Cricut Cartridge - Celebrations and Wild Card
1 - 10''x12'' Cardstock (hot pink)
Provo Craft Paper trimmer with Scoring blade
4 - strips of cardstock 3''x12''(yellow, hot pink, turquoise, orange)
1 - strips on 10'' x 2'' of cardstock (Yellow)
1 - strip of 10''x1'' patterned paper (striped)
1 - 6'' x 12'' cardstock (white)
Bling
Border punch (optional)
Adhesive

Using your 10''x12'' piece of cardstock score (lengthwise) at 2.5'' and then at 7.25''
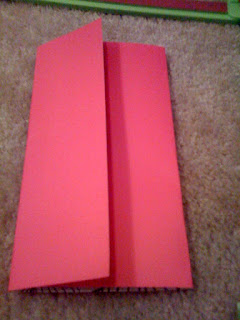
Fold on score lines
Score on short side at 2'' and then at 6''. Next, fold on score lines.
This forms your wallet.
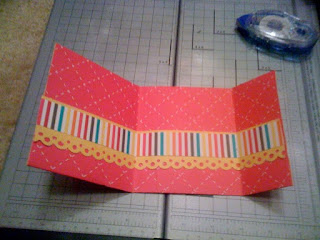
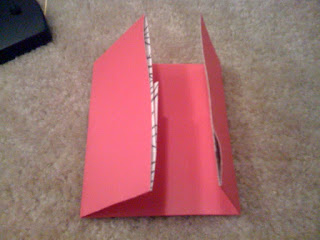
Next we will decorate the inside pocket of the wallet. Open your wallet, using your 10''x 2'' strip, punch a deco border with a border punch of your choice (this step is optional, at straight edge will look just as cute). Next, layer the punched border with the 1''x 10'' strip of patterned paper. Next, adhere border to the inside pocket of your wallet with a strong adhesive of your choice. See picture above.

Now comes the fun part. Cricut Time!!!!
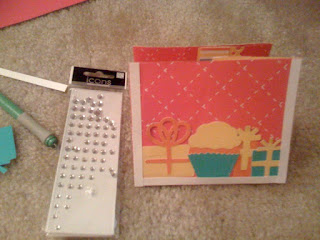
Using the 3''x 12'' strips of cardstock, arrange the strips on the cutting mat as shown in the picture above. Cutting and arranging your cardstock all at once allows you to save paper and save time. All it takes is just a little planning in advance.

Set your mat and select your images. I used the following images and dimensions:
Balloons, 1'' qty 3, I used 3 of the balloon designs in the Celebrations cartridge
Gift boxes, 2'', 1.5'' and 1'', I used 3 of the gift box designs on the Celebrations Cartridge
Cupcake, 2'', I cut the cupcake twice using a different color each time to add interest to the piece.
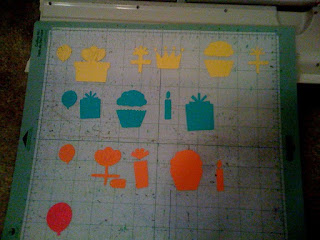
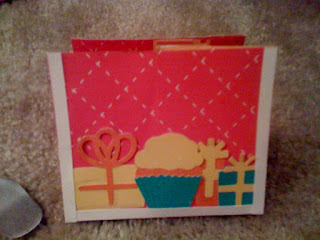
Above is the result of my cuts, if you notice I cut my bows in a different color than the box for contrast. This cartridge (like most cartridges) has a layering feature, which allows you to cut the main image and then the secondary or layering image in a different color.
Remove your images from the mat and adhere the layers with an adhesive of your choice.
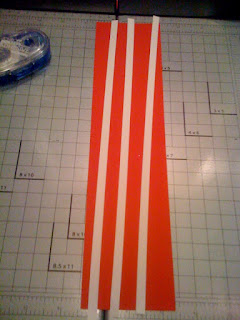
Using your 6''x12'' white cardstock, cut 1/8'' x 12'' strips with the paper trimmer. You will need 3 strips.
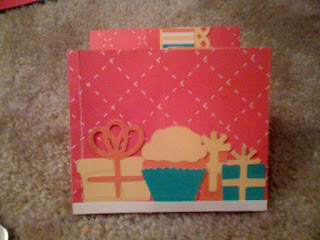
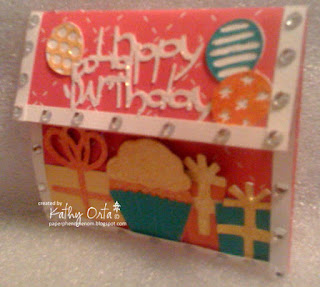
Arrange your images as shown in the image above and adhere. Next, adhere a piece of the white strip and trim off the excess as shown in the image above.
Next, adhere the white strip to the sides, trimming off the excess as shown in the image above.
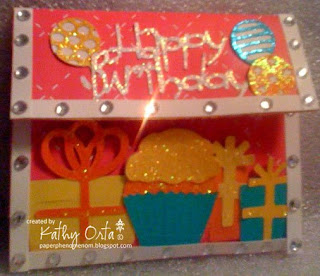
Now apply the Bling!!!!!
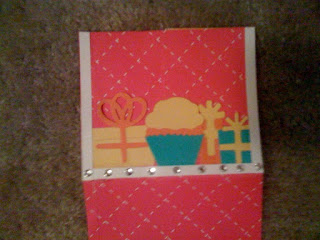
I applied the bling about every quarter of an inch. I started at the bottom strip and worked my way up the sides. See image above.
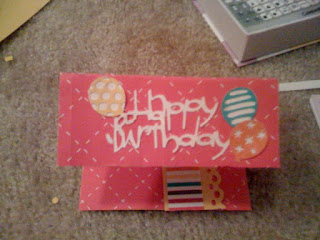
Decorate the wallet top flap or flap closure. I cut the sentiment from the Wild Card Cartridge at 1.5''. Apply your white cardstock to the Cricut cutting mat, load the mat into the machine, select the image you want to cut, then press cut. Next, adhere the sentiment to the top flap. Next, adhere the balloons as shown in the image above.
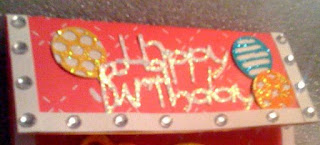
Using your remaining white border strips, repeat the same process used for the bottom flap. See image above. Now you are done decorating your wallet.
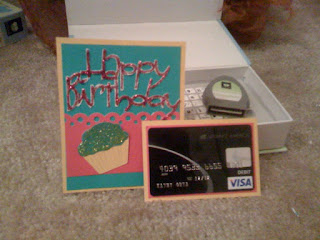
For added interest (of course I couldn't stop at just the wallet), I put together a super quick, but cute card insert. The card insert is cut at 4 5/8'' x 3 7/8 ''. I layered it with a 1.5'' border punched strip and added another Happy Birthday sentiment that I cut from my Wild Card Cartridge using my Cricut. The Sentiment was cut at 2''. I also, matted the gift card as shown in the image above.
This completes my tutorial. Enjoy your project and I am sure the recipient will love it!!!!

Inside view


